This article introduces the use of motion sensors or digital 3-axis shifting using MMA7660FC IC, which lets us know if this module shifts left/right or forward/backward or up/down, or rotates left/right or front/back and up/down. A library has been created to enable the sensor, set the sampling rate (sample rate), and display the converted value obtained from the module.

Equipment
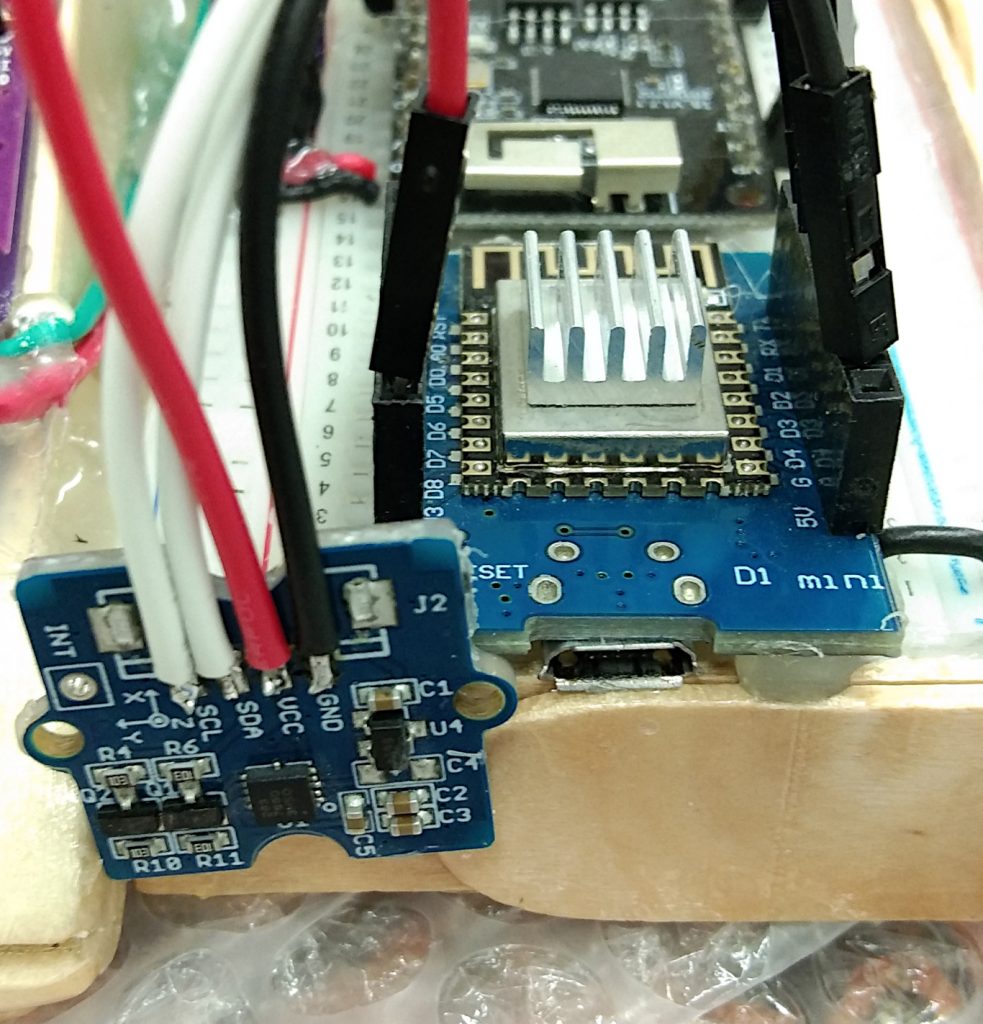
- ESP8266
- MMA7660FC module
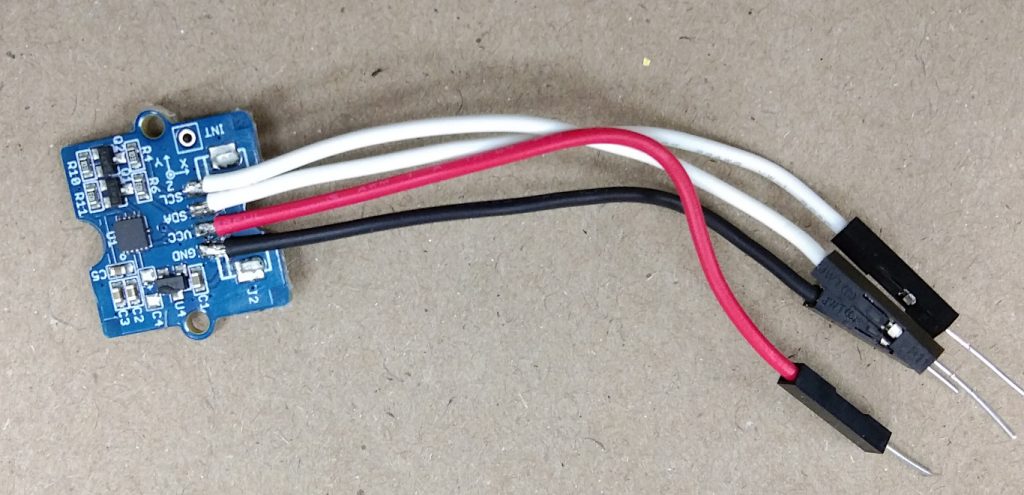
MMA7660FC sensor
The MMA7660FC sensor module is used to measure the 3-axis movement that communicates with the microcontroller device via an I2C bus. It is 3x3x0.9mm and has a position value. Operates at 2.4V-3.6V analog and 1.71V-3.6V digital, idle mode current at 0.4 μA (uA), in standby mode at 2 μA, and normal state at 47 μA. In addition, there is an energy-saving system with automatic Wake/Sleep.
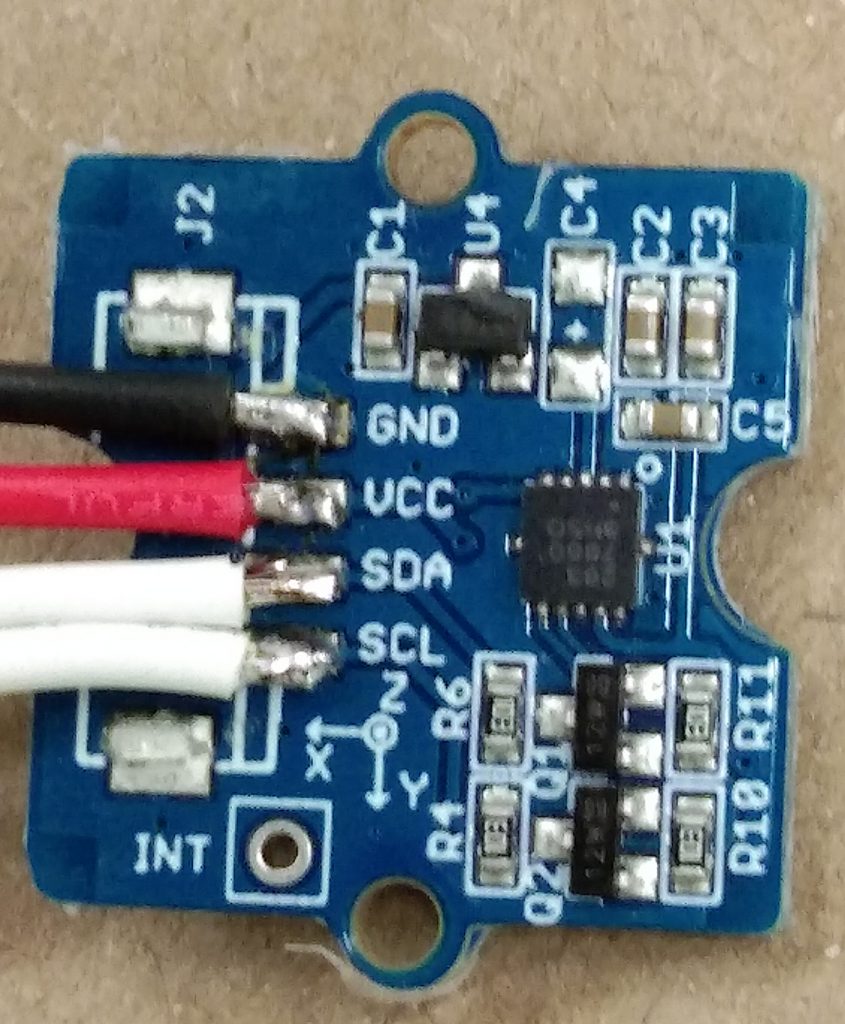
The connection pin of the motion sensor module consists of 4 pins:
- GND for connecting to the system ground.
- VCC for supplying DC voltage to the module.
- SDA for sending / receiving data on the I2C bus
- SCL for being the clock signal in the I2C bus communication.
Initial command
To start the MMA7660FC IC installed on the position 0x4C or 76 (base 10), there are 2 steps, enter the active mode to start working, after that, set the sampling rate (Sample Rate).
- To start, we must assigned value 1 to register on position 7.
- Setting the sampling rate which is defining the duration of the wake/sleep time automatically by the sensor. The programmer must specify the value of the register on position 8 to be one of the following values.
- value 7 for 1 sample/Second
- value 6 for 2 samples/Second
- value 5 for 4 Samples/Second
- value 4 for 8 Sample/Second
- value 3 for 16 Samples/Second
- value 2 for 32 Samples/Second
- value 1 for 64 Samples/Second
- value 0 for tapping mode which is 128 Samples/Second
reading the value
The values obtained from the bus at the position of the displacement sensor module will be returned for 3 bytes arranged in the X-Axis Accl, Y-Axis Accl and Z-Axis Accl. To move in the Z-Axis Accl, the values need to be converted to a 6-bit number and determine the direction of the movement as follows.
        xAccl = data[0] & 0x3F
        if xAccl > 31 :
            xAccl -= 64
        yAccl = data[1] & 0x3F
        if yAccl > 31 :
            yAccl -= 64
        zAccl = data[2] & 0x3F
        if zAccl > 31 :
            zAccl -= 64
Connection
The connection of the motion sensor module to the ESP8266 is done using the I2C bus as shown in the following table.
| ESP8266 | MMA7660FC sensor |
|---|---|
| 3V3 | Vcc |
| GND | GND |
| GPIO5 (D1) | SCL |
| GPIO4 (D2) | SDA |
Example program
The example program code15-1 creates a MMA7660FC class to enable it and set it to run once per second. And create a read () method to read the changing motion data in the X, Y, and Z axes, and convert the data to 6 bits, and split the data to – 0 + to know the direction of movement in each axis with examples of reading values and displaying the results of serial communication as in Figure 7.
# code15-1
import time
import gc
import machine as mc
from machine import I2C, Pin

gc.enable()
gc.collect()
sclPin = mc.Pin(5)
sdaPin = mc.Pin(4)
i2c = mc.I2C(scl=sclPin,sda=sdaPin,freq=2000000)
print("i2c device(s) address = {}".format(i2c.scan()))

class MMA7660FC:
    def __init__(self, i2c, addr=0x4c):
        self.i2c = i2c
        self.mma7660fcAddr = addr
        mma7660fcBuffer = bytearray(2)
        # Active mode
        mma7660fcBuffer[0] = 0x07
        mma7660fcBuffer[1] = 0x01
        self.i2c.writeto(self.mma7660fcAddr, mma7660fcBuffer)
        # 1 Sample/second active
        mma7660fcBuffer[0] = 0x08
        mma7660fcBuffer[1] = 0x07
        self.i2c.writeto(self.mma7660fcAddr, mma7660fcBuffer)
        time.sleep_ms(10)

    def read(self):
        data = self.i2c.readfrom(self.mma7660fcAddr,3) # 0x00, 3)

        # Convert the data to 6-bits
        xAccl = data[0] & 0x3F
        if xAccl > 31 :
            xAccl -= 64
        yAccl = data[1] & 0x3F
        if yAccl > 31 :
            yAccl -= 64
        zAccl = data[2] & 0x3F
        if zAccl > 31 :
            zAccl -= 64
        return (xAccl,  yAccl,  zAccl)

# Output data to screen
sensor = MMA7660FC(i2c)
while True:
    sensorData = sensor.read()
    print("Acceleration ({},{},{})".format(sensorData[0],sensorData[1],sensorData[2] ))
    time.sleep_ms(50)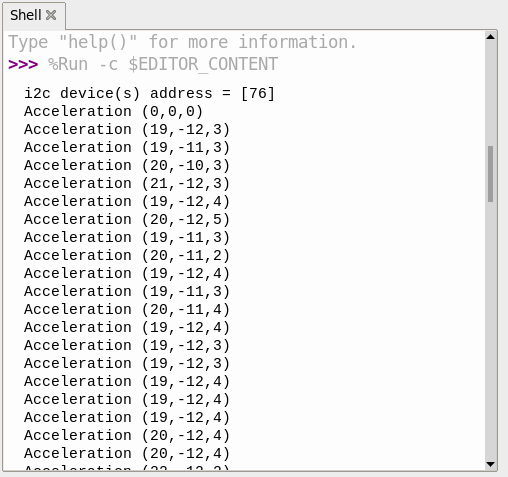
Conclusion
From this article, readers understand how to use and basic operations of the MMA7660FC sensor that can be applied to the occurrence of movement on the X, Y and Z axes in Python. We hope that this article will be more or less useful to readers. And finally, have fun with programming.
(C) 2020, Jarut Busarathid and Danai Jedsadathitikul
Updated 2021-05-19
Reference