This article discusses installing Phaser.js as a game framework and using Node.js as a web resource provider for the Raspberry pi 4, enabling the board to be the web server for games we’ve developed. The article discusses the creation of a project, installing libraries, master coding and running the service machine to allow the client to run the game through the browser.
Phaser
Phaser is a game-developing framework for HTML5 that is designed to be mobile-centric. But it works on both mobile and desktop. The properties of Phaser are as follows:
- WebGL หรือ Canvas และสามารถปรับขยาRendered via WebGL or Canvas and can be scaled according to device type.
- Supported Preload, Physics, Sprites, Groups, Animation, Particles, Sounds, Tilemaps
- Support camera angle control
- Importing via touch screen keyboard or mouse.
Steps
Create a project
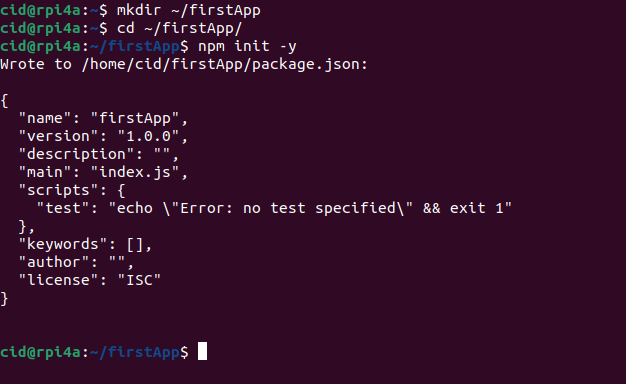
First, you need to create a directory to store the project. Here, we named it firstApp, then go into the directory and start the project with npm command:
mkdir ~/firstApp
cd ~/firstApp
npm init -y
Installing
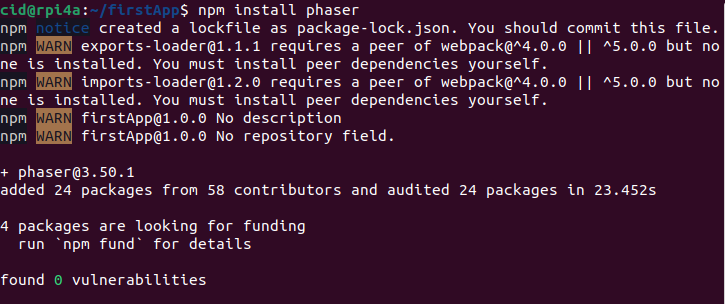
Once the project build is complete, install the phaser library with the following npm, install the hs (http-server) so that the project directory is where web pages and web resources are stored. (If it is already installed, there is no need to repeat) as follows, and the result is as shown in Figures 2 and 3, respectively.
npm install phaser
sudo npm install -g http-server

Model code
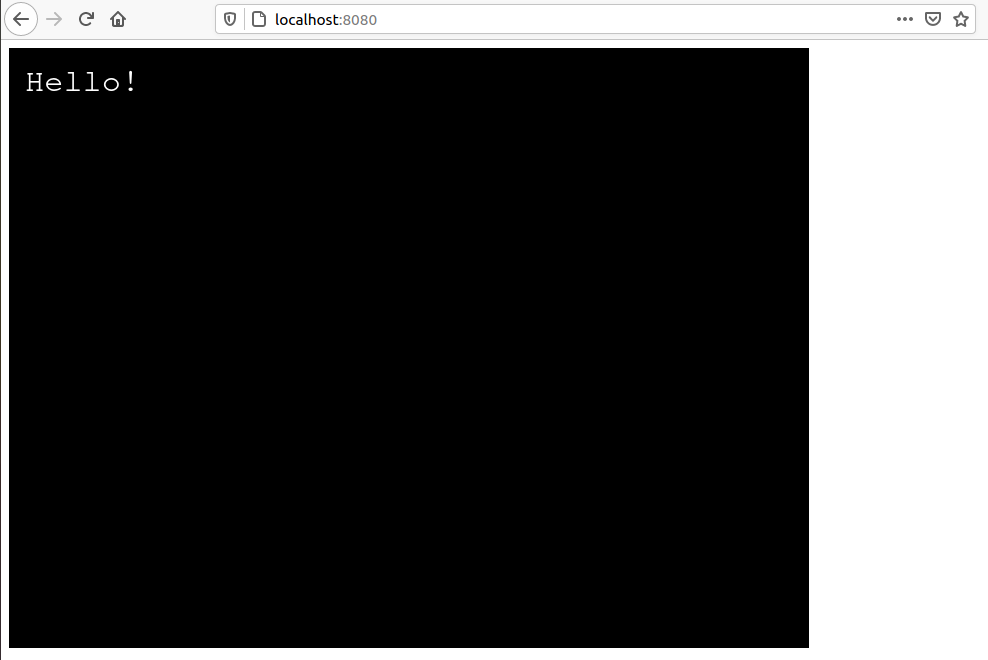
An example program in this article creates an 800 wide and 600 tall display with a black background. and a white-colored message saying Hello!
<!DOCTYPE html>
<html>
<head>
    <script type="text/javascript" src="node_modules/phaser/build/phaser.js"></script>
</head>
<body>
<script>
var config = {
    type: Phaser.AUTO,
    width: 800,
    height: 600,
    physics: {
        default: 'arcade',
        arcade: {
            gravity: { y: 200 }
        }
    },
    scene: {
        preload: preload,
        create: create
    }
};
var game = new Phaser.Game(config);
function preload () { }
function create () {
    this.add.text(16, 16, 'Hello!',
    {fontSize: '32px', fill: '#ffffff' });
}
</script>
</body>
</html>Testing
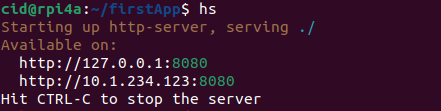
Once the program is saved as an index.html file, run the following command to start the webserver. The result is shown in figure 4, i.e. if testing the web with Raspberry Pi, use host 127.0.0.1:8080 or localhost:8080 or from IP address 10.1.234.123:8080 and exit the program by pressing the ctrl+C, the example program gives the result as shown in Figure 5.
hs
Conclusion
From this article, it can be said that you can use Node.js as a web service provider by looking at the project directory as the home directory and the installation of libraries or frameworks can be run through the npm program. In this article, we installed the framework Phaser used to create games or multimedia via the web we created.
From this article, we hope that you will benefit more or less. And next time, we will bring an example of how to use the Phaser framework for you to read and exchange. Finally, have fun with programming.
(C) 2020, By Jarut Busarathid and Danai Jedsadathitikul
Updated 2021-09-19