This article introduces the Arduino Uno board, a popular board for studying programming to control devices. It discusses board features and uses Arduino IDE version 2 (beta 7) as the basis for further programming.
Features of Arduino Uno
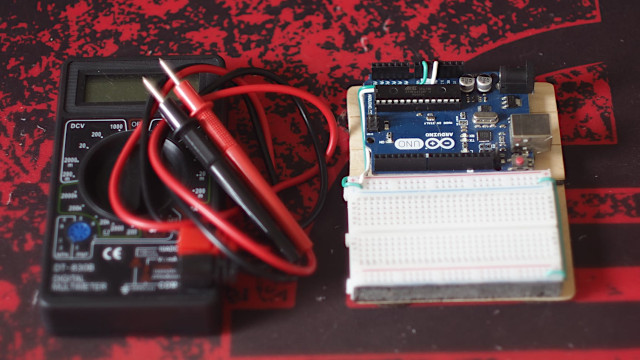
Arduino Uno is a microcontroller board that uses the Microchip‘s ATmega328P chip. The board is designed to connect to the computer via the USB port. It supports the supply of DC voltage up to 12V. There is a reset button and a connector for connecting to external circuits on the board. The properties of the board are as follows.
- Microcontroller : ATmega328P
- DC voltage for working : 5VDC
- Vin : 7-12VDC
- Digital pins : 14 (6 for PWM)
- Analog pins : 6
- PWM I/O pins : 6
- Current driven from input/output : 20mA
- Current drive from 3.3VDC voltage pin : : 50mA
- Flash memory : 32 KB (store 0.5KB of Arduino ROM.)
- RAM : 2KB
- EEPROM : 1KB
- Clock speed : 16MHz
- Size : 6.86×5.34cm
Arduino IDE
Arduino IDE is a program development tool for Arduino boards. Although, the current version is 1.8.15 but the development team has developed version 2 ie. beta7, which is the version that the we choose to write articles and will change to the latest version when there is an update from the development team. The operating systems that can be used are as follows.
- Windows 32 and 64 bits
- Linux 32 and 64 bits
- Linux ARM 32 and 64 bits (not supported 2dn generation)
- Mac OS X v.10.14 or above for 2nd generation and 10.10 for 1.8.15 generation
When the Arduino Uno board is plugged into the port of the computer and the drivers are installed. When entering the program Arduino IDE for the first time, it will select the board as Arduino Uno. It will show the screen to install the board as shown in the following figure.
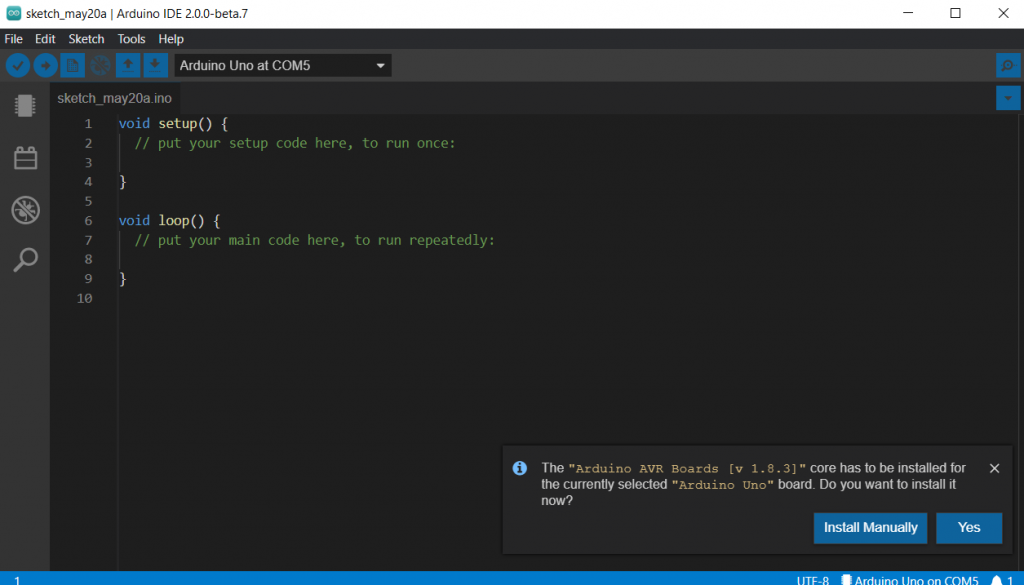
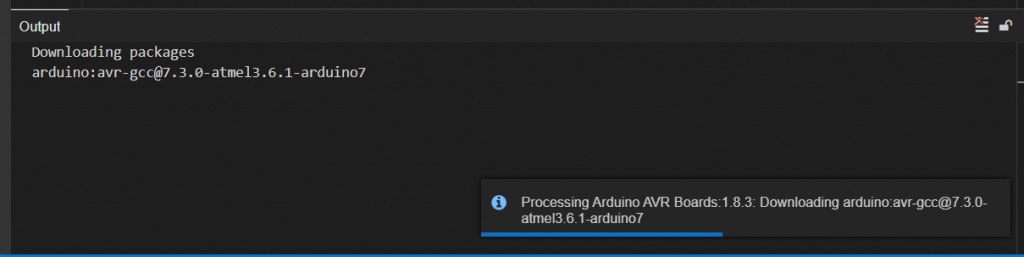
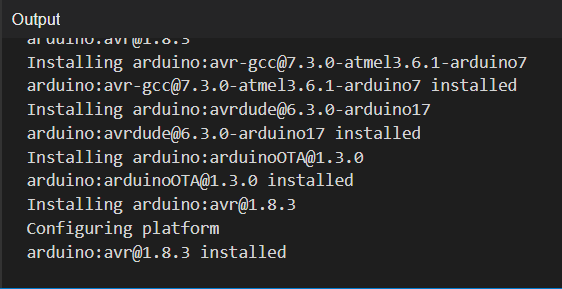
When clicking the Yes button, the system will install the board as shown in the following figure.
The list of basic command icons to know are:
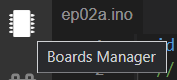
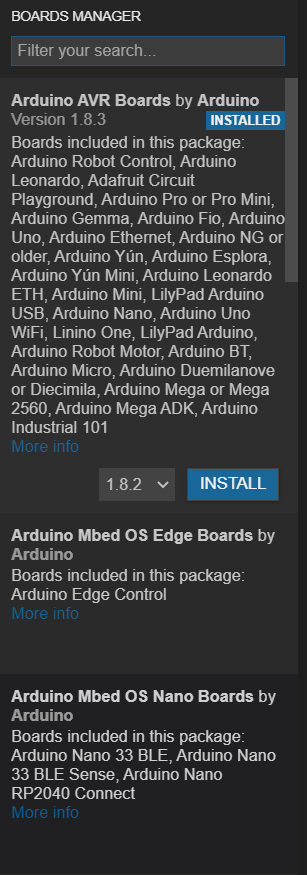
Board Manager : For upgrading or uninstalling the board
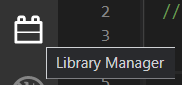
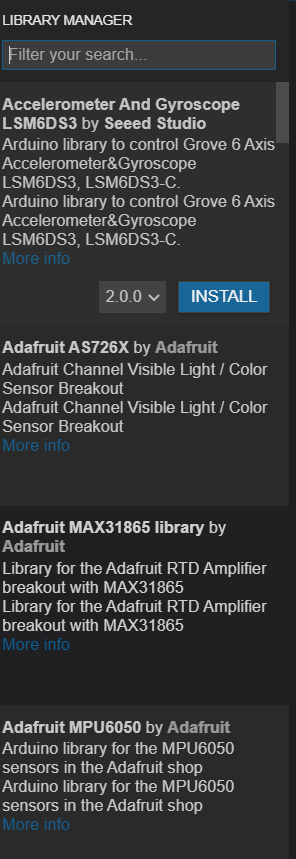
Library Manager : For adding, upgrading and removing libraries from the Arduino IDE.
New : For creating a new program

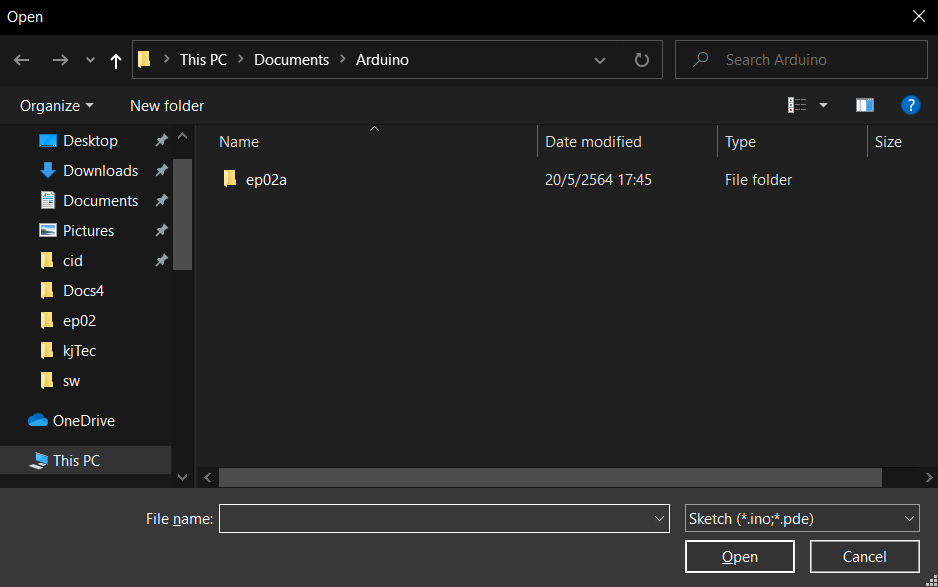
Open : For opening Sketch (programs) written or sample programs.

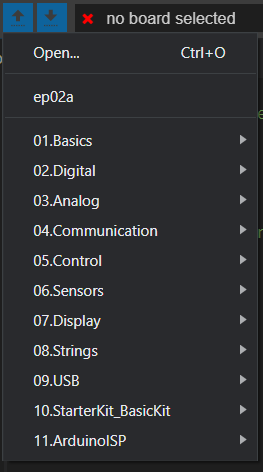
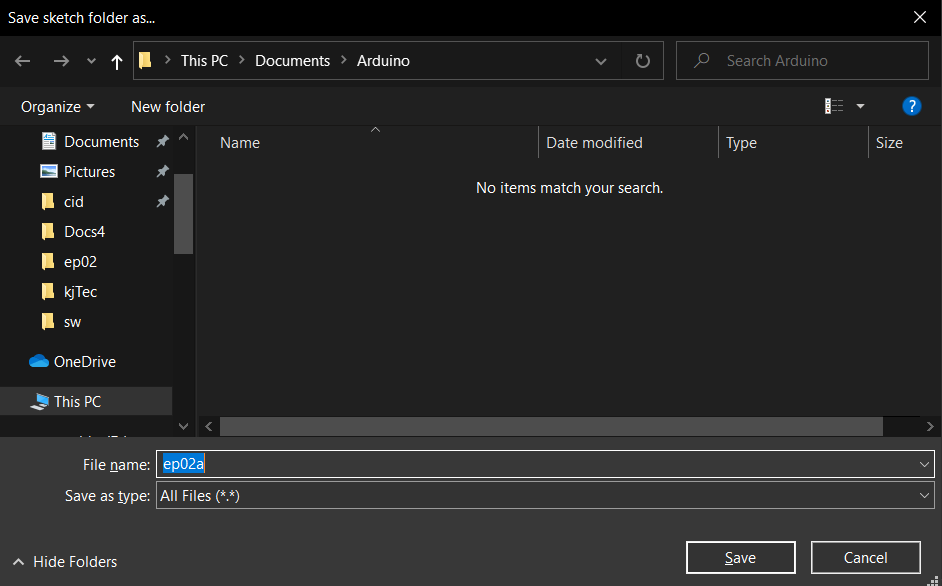
Save : For saving Sketches written.

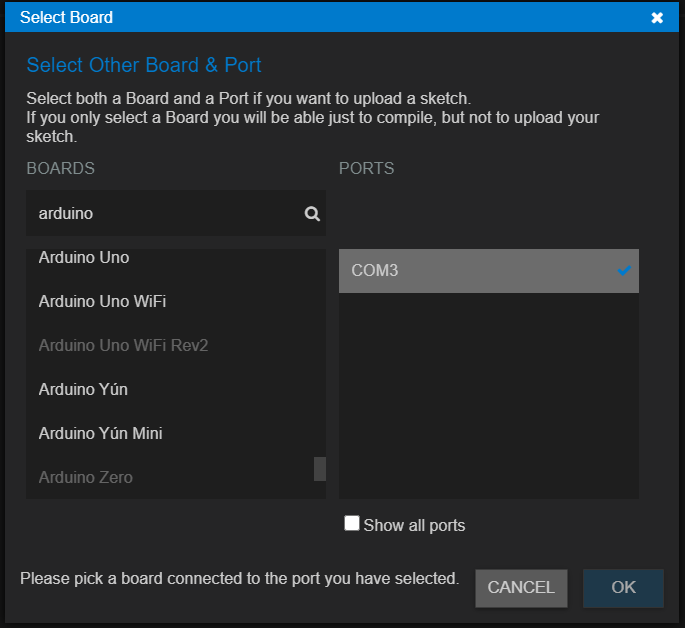
board selected tab : Board selected tab: to select the board connected to the communication port.

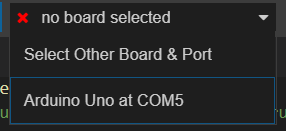
In case the tab sees ports but doesn’t recognize the board as in the following figure.
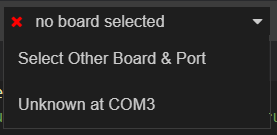
Click to select a list of boards as shown in the following figure.
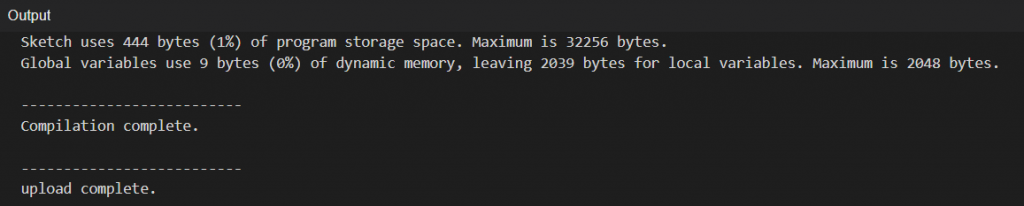
verify : For compiling the program


upload : For compiling the program and uploading it to the Arduino board

Basic Program Structure
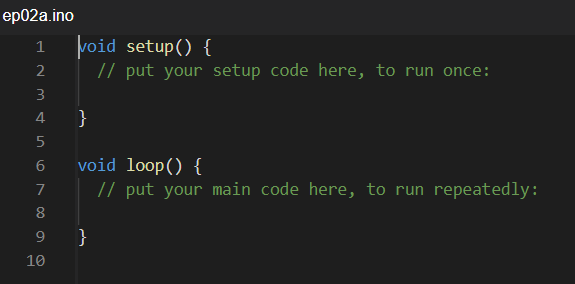
From the figure above, it is the basic program structure that Arduino IDE creates. The language used with Arduino is C++ that defines two basic functions for working:
- setup( ) For writing code that will be executed when the Arduino board is ready, when this function is finished it will not run again until the board is reset or start supplying power to the board again.
- loop( ) For writing program code that will run repeatedly.

Therefore, programs that are created at startup do nothing. (because I didn’t write any code) and each loop did nothing.
Conclusion
From this article, we hope that you can use the Arduino IDE to create programs, compile and upload the program to the board successfully. Next time, we will explain the core of C++ as the basis for further coding. Finally, have fun with programming.
(C) 2020-2021, By Jarut Busarathid and Danai Jedsadathitikul
Updated 2021-09-21