บทความนี้อธิบายการใช้งานคลาส Serial ในเฟรมเวิร์กของ Arduino เพื่อใช้เป็นคำสั่งสำหรับรายงานผลจากบอร์ดไมโครคอนโทรลเลอร์กลับมายังโปรแกรม Arduino IDE ทำให้สะดวกต่อการตรวจสอบการทำงานและการเรียนรู้พื้นฐานภาษา C++
บทความนี้อธิบายการใช้งานคลาส Serial ในเฟรมเวิร์กของ Arduino เพื่อใช้เป็นคำสั่งสำหรับรายงานผลจากบอร์ดไมโครคอนโทรลเลอร์กลับมายังโปรแกรม Arduino IDE ทำให้สะดวกต่อการตรวจสอบการทำงานและการเรียนรู้พื้นฐานภาษา C++
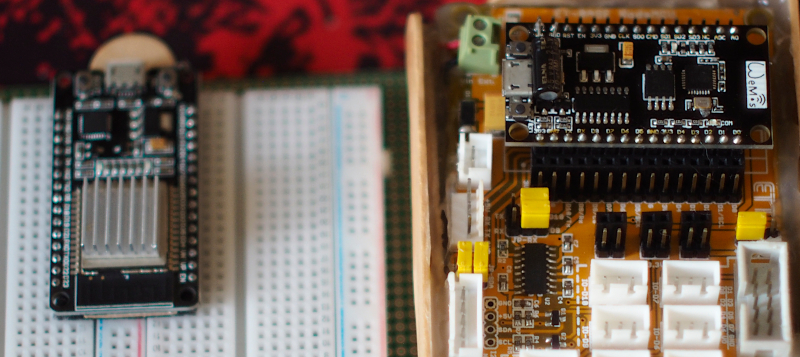
บทความนี้อธิบายการติดตั้งเฟรมเวิร์ก Arduino สำหรับบอร์ด ESP32 และ ESP8266 เพื่อใช้งานกับ Arduino IDE ทำให้สามารถใช้ C++ กับบอร์ดทั้ง 2 ได้ โดยบทความจะบอกขั้นตอนการติดตั้งเพื่อเป็นแนวทางสำหรับผู้ที่สนใจ
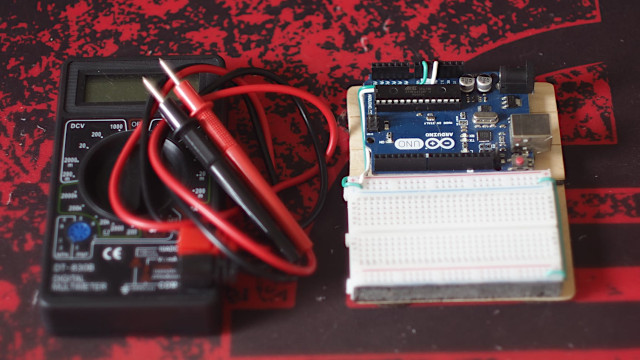
บทความนี้แนะนำบอร์ด Arduino รุ่น Uno ซึ่งเป็นบอร์ดที่นิยมใช้ในการศึกษาการเขียนโปรแกรมเพื่อควบคุมอุปกรณ์ โดยกล่าวถึงคุณสมบัติของบอร์ด และการใช้ Arduino IDE รุ่น 2 (beta 7) เป็นพื้นฐานสำหรับการเขียนโปรแกรมต่อไป
ในบทความนี้เป็นเนื้อหาเกี่ยวกับกฎของโอห์ม (Ohm’s Law) ซึ่งเป็นเรื่องพื้นฐานที่เกี่ยวข้องกับวงจรไฟฟ้าที่เกิดจากความสัมพันธ์ระหว่างกระแสไฟฟ้าที่มีหน่วยเป็นแอมป์ (Amp) ความต่างศักย์ไฟฟ้าหรือแรงดันไฟฟ้าที่่มีหน่วยเป็นโวลต์ (Volt) และความต้านทานของตัวนำหรือโหลด (Load) ที่มีหน่วยเป็นโอห์ม (Ohm) หรือสมการ V=IR โดย V เป็นแรงดัน I คือกระแสไฟฟ้า และ R คือค่าความต้านทานของตัวนำ
The ESP8266 is a device with a built-in WiFi connection system that can operate in both AP (Access Point) mode and client mode connected to an existing WiFi network or STA. The developer can set the name of the device (ESSID) or use the name according to the value set by the system to MicroPython-xxxx, where x represents the MAC Address of the device, the password is micropythoN (the developer can define a new one) with the IP address (IP Address) of 192.168.4.1.
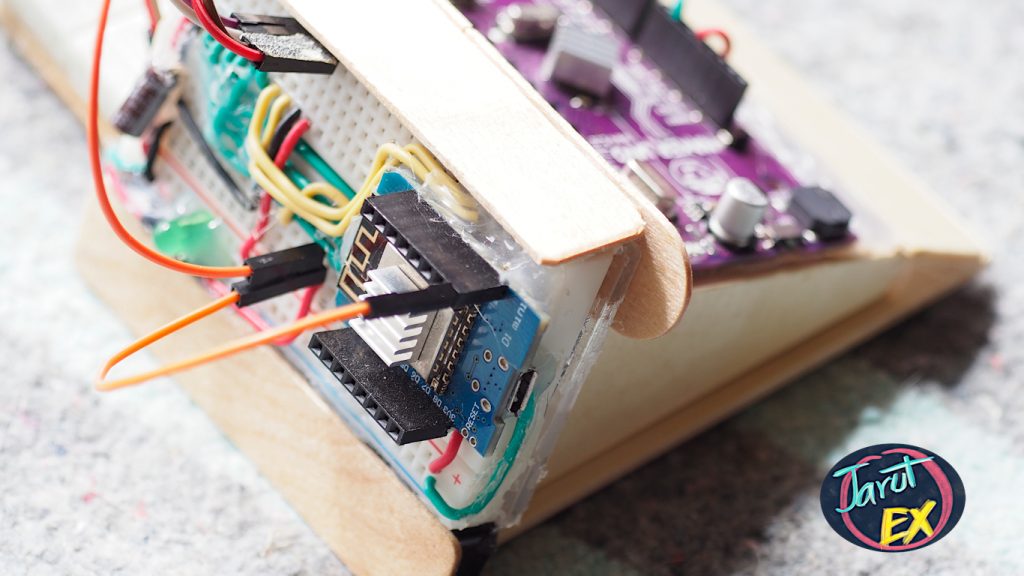
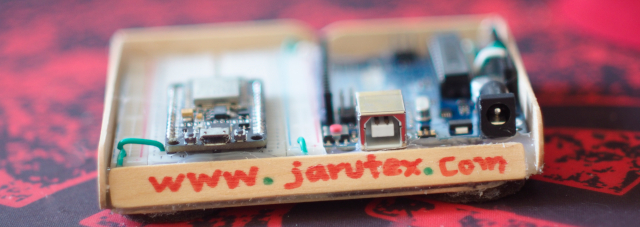
ESP8266 is a device that nicely supports IoT functionality. But one of the downsides of the ESP8266 is the inadequate number of GPIOs or pins for input and output signals that can be used without a problem with the board’s functionality, so expanding ports for the ESP8266 is quite a thing that developers must be faced which can be performed in a several ways such as using PCF8574 as an expansion port via the I2C bus or connecting to Arduino via Serial Port to allow Arduino to work and send the results back via the serial communication port, etc. This article chose to use an Arduino Uno as a board for I / O to the ESP8266 by using the I2C bus operation.
Read More(วิธีการทำให้ “ESP8266” อ่านและเขียนไปยัง “Arduino UNO Maker” ผ่านบัส I2C.)
ESP8266 เป็นอุปกรณ์ที่รองรับการทำงานแบบ IoT ได้เป็นอย่างดี แต่ข้อเสียประการหนึ่งของ ESP8266 คือ จำนวน GPIO หรือขาสำหรับนำเข้าสัญญาณและนำออกสัญญาณที่สามารถใช้งานได้โดยไม่เป็นปัญหากับการทำงานของบอร์ดมีไม่มากนัก ดังนั้น การขยายพอร์ตให้กับ ESP8266 จึงเป็นสิ่งที่นักพัฒนาต้องประสบพบเจอ ซึ่งสามารถเลือกดำเนินการได้หลายวิธี เช่น ใช้ PCF8574 เป็นพอร์ตขยายผ่านทางบัส I2C หรือเชื่อมต่อกับ Arduino ผ่านทางพอร์ตสื่อสารอนุกรม (Serial Port) เพื่อให้ Arduino เป็นผู้ทำงานและส่งผลลัพธ์กลับมาทางพอร์ตสื่อสารอนุกรม เป็นต้น โดยในบทความนี้เลือกการใช้ Arduino Uno เป็นบอร์ดสำหรับเป็น I/O ให้กับ ESP8266 โดยอาศัยการสั่งงานผ่านทางบัส I2C
Read More