[EN] Arduino: SoftwareSerial with STM32F030F4

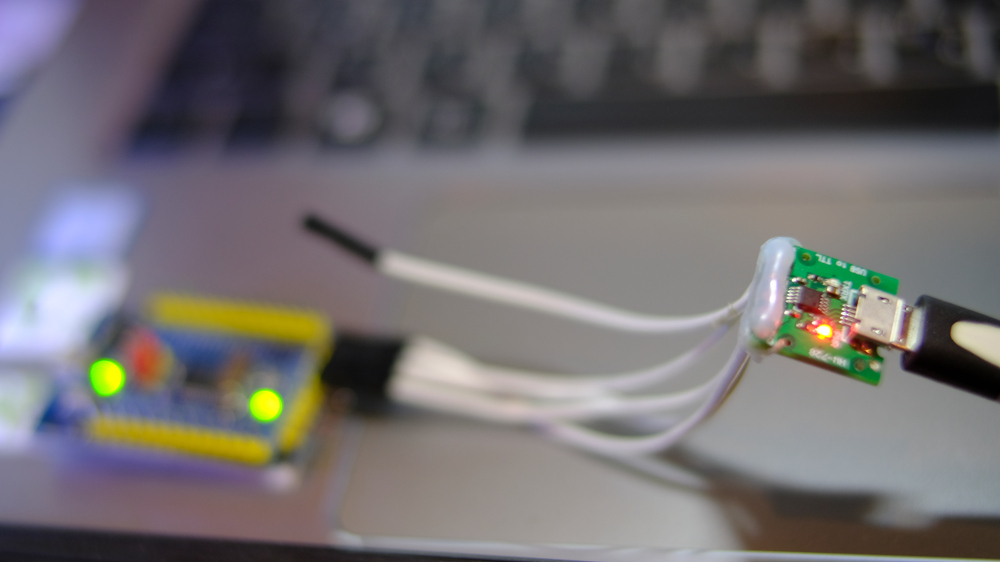
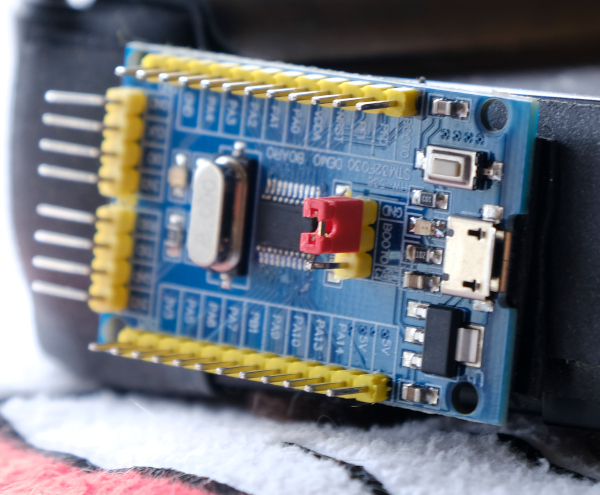
From the article recommending the use of the board STM32F030F4P6 that uses serial communication with the use of additional libraries that do not have enough memory. So we try to use SoftwareSerial of Arduino framework and use pins PA10 and PA9 to connect to RX and TX of USB-RS232 Converter Module as shown in Figure 1 and try to use it according to the settings of Arduino IDE as shown in Figure 2 and order toggle LED connected to pin PA4 found that when compiling the sample program is used, the ROM and RAM usage are 80% and 21% respectively as reported by the Arduino IDE as follows.

Sketch uses 13188 bytes (80%) of program storage space. Maximum is 16384 bytes.
Global variables use 876 bytes (21%) of dynamic memory, leaving 3220 bytes for local variables. Maximum is 4096 bytes.
Figure 1 STM32F030F4P6 with CH340E module
Read More

[EN] Arduino ADC/DAC

This article introduces the ESP32 and SAM-D21 microcontroller board to learn how to use ADC (Analog to Digital Converter) and DAC (Digital to Analog Converter) instruction by connecting the DAC pin to ADC as shown in Figures 1 (Connect A0 to A1 of Board SAM-D21 ) and 2 (Connect Pin GPIO26 to GPIO36 of ESP32) to send data to DAC and have ADC read it back. Then send the results out to the serial port for display with the Serial Plotter, which is an example program to send 3 types of data, which is a zigzag graph, triangular graph and waveform graph from the sinusoidal function

Figure 1 SAM-D21 with A0 connected to A1
Figure 2 ESP32 with port 26 connected to port 36
Read More

[TH] Arduino: ใช้ SoftwareSerial กับ STM32F030F4

จากบทความแนะนำการใช้บอร์ด STM32F030F4P6 ที่ใช้การสื่อสารพอร์ตอนุกรมด้วยการใช้ไลบรารีเพิ่มเติมซึ่งทำให้ปริมาณหน่วยความจำไม่มากพอสำหรับใช้งาน ทางเราเลยลองเปลี่ยนมาใช้ SoftwareSerial ของเฟรมเวิร์ก Arduino และใช้ขา PA10 และ PA9 ต่อเข้ากับ RX และ TX ของโมดูลแปลง USB-RS232 ดังภาพที่ 1 และทดลองใช้งานตามการตั้งค่าของ Arduino IDE ดังภาพที่ 2 พร้อมทั้งสั่ง Toggle หลอด LED ที่เชื่อมต่อกับขา PA4 พบว่า เมื่อคอมไพล์โปรแกรมตัวอย่างแล้วมีการใช้ ใช้หน่วยความจำ ROM และ RAM เป็น 80% และ 21% ตามลำดับดังการรายงานจาก Arduino IDE ดังต่อไปนี้

Sketch uses 13188 bytes (80%) of program storage space. Maximum is 16384 bytes.
Global variables use 876 bytes (21%) of dynamic memory, leaving 3220 bytes for local variables. Maximum is 4096 bytes.
ภาพที่ 1 บอร์ด STM32F030F4P6 กับโมดูล CH340E
Read More

[EN] u8g2 Library

From the article on using the ESP8266 with an OLED graphical display written in Python, you’ll find that it’s fast and easy but when used with other microcontrollers that cannot use Micropython or CircuitPython, what must be done? One of the many options is the u8glib or u8g2 (Universal 8 bit Graphics Library) libraries, designed to work with monochromatic 8-bit graphics over either I2C or SPI communication. In this article, we are using I2C OLED as shown in Figure 1.

(Figure. 1 STM32F401CCU6 with I2C OLED)
Read More

[TH] Arduino ADC/DAC

บทความนี้แนะนำบอร์ดไมโครคอนโทรลเลอร์ ESP32 และ SAM-D21 มาใช้งานเพื่อเรียนรู้การใช้คำสั่งเกี่ยวกับ ADC (Analog to Digital Converter) และ DAC (Digital to Analog Converter) ด้วยการเชื่อมต่อขา DAC เข้ากับ ADC ดังตัวอย่างภาพที่ 1 (เชื่อม A0 เข้า A1 ของบอร์ด SAM-D21) และ 2 (เชื่อมต่อขา GPIO26 เข้ากับ GPIO36 ของ ESP32) เพื่อส่งข้อมูลที่ไป DAC และให้ ADC อ่านค่ากลับเข้ามา และส่งผลลัพธ์ออกไปที่พอร์ตอนุกรมสำหรับแสดงผลด้วย Serial Plotter ซึ่งตัวอย่างโปรแกรมสั่งส่งข้อมูล 3 แบบ คือ กราฟแบบฟันปลา กราฟแบบสามเหลี่ยม และกราฟรูปคลื่นจากฟังก์ชันไซน์

ภาพที่ 1 บอร์ด SAM-D21 เชื่อมต่อขา A0 เข้ากับ A1
ภาพที่ 2 บอร์ด ESP32 ที่เชื่อมต่อขา 26 เข้ากับ 36
Read More

[TH] Cortex-M0+: SAMD21

บทความนี้แนะนำบอร์ดไมโครคอนโทรลเลอร์ที่ใช้ชิพ ATSAMD21G18 ของบริษัท Microchip ที่ใช้สถาปัตยกรรม ARM แบบ 32 บิต แกนตระกูล Cortex-M0+ ในรูปแบบบอร์ดตามตระกูล Arduino Uno ดังภาพที่ 1

ภาพที่ 1 บอร์ด SAMD21 ในฟอร์มของ Arduino Uno
Read More

[EN] Bare Metal Cortex-M Ep.3

From the previous article, we have experimented with controlling the digital signal output by driving the LED circuit connected to the STM32 microcontroller board, both Cortex-M0, Cortex-M3 and Cortex-M4. to import digital signals and use an example of connecting a switch circuit to control the on or off of an LED lamp as shown in Figure 1.

(Figure. 1 Our board in this article)
Read More

[EN] Bare Metal Cortex-M Ep.2

From the previous article, we have tried writing a program to study the elements of various files that we need, we found that there are quite a lot of details and steps. But it is an important basis for those who want to seriously and usefully study Cortex-M0 programming via STM32F030F4P6 (Figure 1), Cortex-M3 with STM32F103C (Figure 32) and Cortex-M4 with STM32F401CCU6 (Figure 27) to study of programming structure with programming tool STM32CubeIDE (Figure 2), which is the main tool used in this series of articles. This is because it combines ST’s complete development kit for ARM, including CubeMX for chip design, compiler toolkit, ST-Link program debugging tool and code editor in one tool,  plus it supports both Windows, Linux and macOS operating systems.

(Figure. 1 STM32F030F4P6 and USB–RS232 )
Read More

[EN] Bare Metal Cortex-M Ep.1

This article is a series of programming articles focused on the Cortex-M0 via the STM32F030F4P6 or any other STM32 microcontroller based on CMSIS, an ARM firmware compiled from vivonomicon.com‘s series of Bare Metal: STM32 Programming articles without using the Arduino framework. In the article EP.1 is a matter of preparation. It consists of creating a link file to link different parts of the code together and the working part file. After that, the result file is uploaded into the microcontroller to complete the program development process.

(Figure. 1 STM32F030F4P6)
Read More