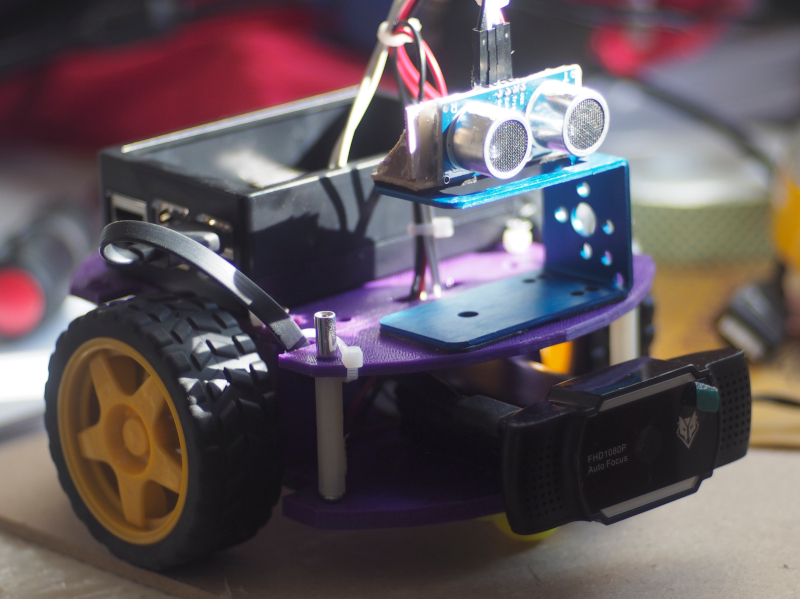
This article is programming in Python to drive a robot moving with wheels. VisionRobo car is a robot kit that is equipped with a DC motor that is attached to a wheels gear set. It uses a circuit to drive a DC motor connected to Raspberry Pi Board and connect a USB WebCamera Module and Ultrasonic Sensor Module for image processing and calculate the distance of the robot to the surrounding objects.
Equipment
An example of this article uses the following instruments:
- Raspberry Pi 3 or 4
- DC motor driver board such as ET-DC MOTOR DRIVE KIT or MX1508 etc.
- Two electric motors attached to the gear set
- Wheels for connecting to electric motors.

Motor driving
Motor driving is performed by two digital signals that control how the motor operates as the following table.
| GPIO#1 | GPIO#2 | มอเตอร์ |
|---|---|---|
| 1 | 1 | stop |
| 0 | 0 | stop |
| 1 | 0 | rotate |
| 0 | 1 | rotate opposite to 1/0 |
From the table, it can be seen that when connecting to 2 motors, 4 pins of GPIO are required. The first 2 pins control the direction of rotation of the 1st motor and the other 2 pins control the rotation of the 2nd motor.
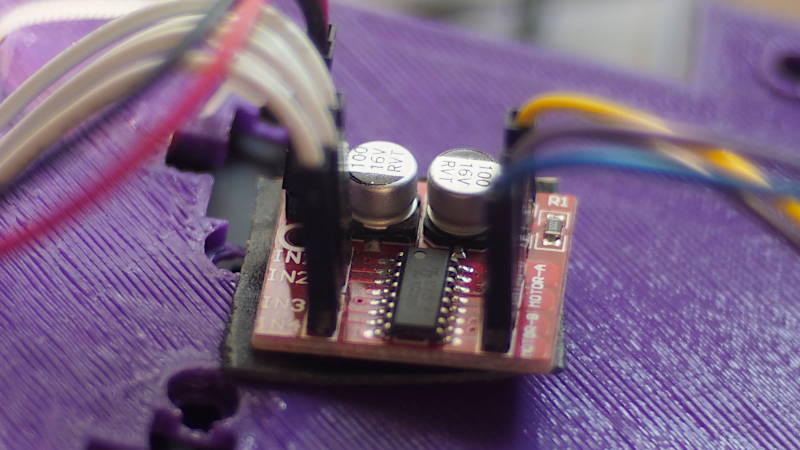
Connecting to the motor drive module
From the DC motor driver module board with 6 pins, it can connect to the Raspberry Pi board as shown in the following table.
| บอร์ดขับมอเตอร์ฯ | Raspberry Pi |
|---|---|
| Vcc | 5VDC |
| GND | GND |
| IN1 | GPIO17 |
| IN2 | GPIO18 |
| IN3 | GPIO22 |
| IN4 | GPIO23 |
Pins’ connection of the direct current electric motor driver board to the DC electric motor is as follows.
| Motor driver | DC Motor |
|---|---|
| OUT1 | left motor |
| OUT2 | left motor |
| OUT3 | right motor |
| OUT4 | right motor |
Example Code
#code26-1
from time import time
from time import monotonic
from time import sleep
import RPi.GPIO as GPIO

pinM1a = 17
pinM1b = 18
pinM2a = 22
pinM2b = 23


def init():
    GPIO.setmode(GPIO.BCM)
    GPIO.setup(pinM1a, GPIO.OUT)
    GPIO.setup(pinM1b, GPIO.OUT)
    GPIO.setup(pinM2a, GPIO.OUT)
    GPIO.setup(pinM2b, GPIO.OUT)

def deinit():
    GPIO.cleanup()

def stop():
    GPIO.output(pinM1a, False)
    GPIO.output(pinM1b, False)
    GPIO.output(pinM2a, False)
    GPIO.output(pinM2b, False)

def forward():
    GPIO.output(pinM1a, True)
    GPIO.output(pinM1b, False)
    GPIO.output(pinM2a, False)
    GPIO.output(pinM2b, True)

def left():
    GPIO.output(pinM1a, True)
    GPIO.output(pinM1b, False)
    GPIO.output(pinM2a, True)
    GPIO.output(pinM2b, False)

def right():
    GPIO.output(pinM1a, False)
    GPIO.output(pinM1b, True)
    GPIO.output(pinM2a, False)
    GPIO.output(pinM2b, True)

def backward():
    GPIO.output(pinM1a, False)
    GPIO.output(pinM1b, True)
    GPIO.output(pinM2a, True)
    GPIO.output(pinM2b, False)

init()
forward()
sleep(0.5)
stop()
sleep(1)
backward()
sleep(0.5)
stop()
sleep(1)
left()
sleep(0.5)
stop()
sleep(1)
right()
sleep(0.5)
stop()
sleep(1)
deinit()
Conclusion
From this article, we found that when compared to robots that are driven by servo motors, the DC Motor has a higher speed, moving faster. However, with more speed, it is more difficult to control the distance especially working with certain sensors or writing a program that needs time to be processed but the motor is still spinning may result in a slow response to movement. Most importantly, the VisionRobo car needs a lot of currents as it uses a Raspberry Pi board when compared to an ESP8266 based robot. Therefore, the design of the robot must consider the size and weight of the power supply that must be attached to the robot.
Finally, we hope that this article will be of some benefit to the readers. and have fun with programming
(C) 2020, By Jarut Busarathid and Danai Jedsadathitikul
Updated 2021-09-15