This article discusses bringing a Unity-developed WebGL-style game onto a server running Ubuntu operating system in the Google Compute Engine.
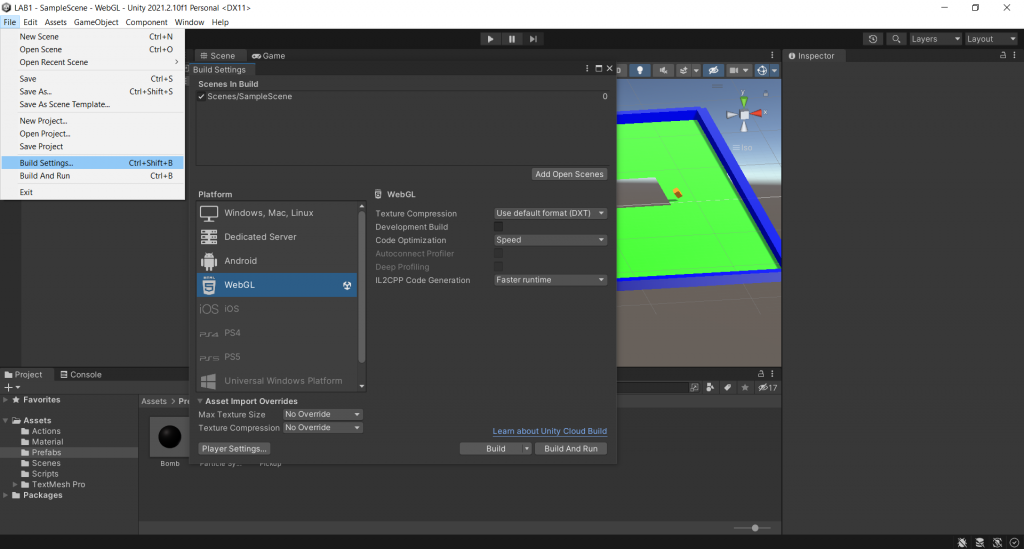
Developing a game with Unity, we can code a game once and create a game on multiple systems, whether it’s Windows, Android or the web, etc. Before we can put our game on the server, we need to modify it. Build target to WebGL first by going to File > Build Settings and selecting Platform as WebGL as shown in Figure 1.
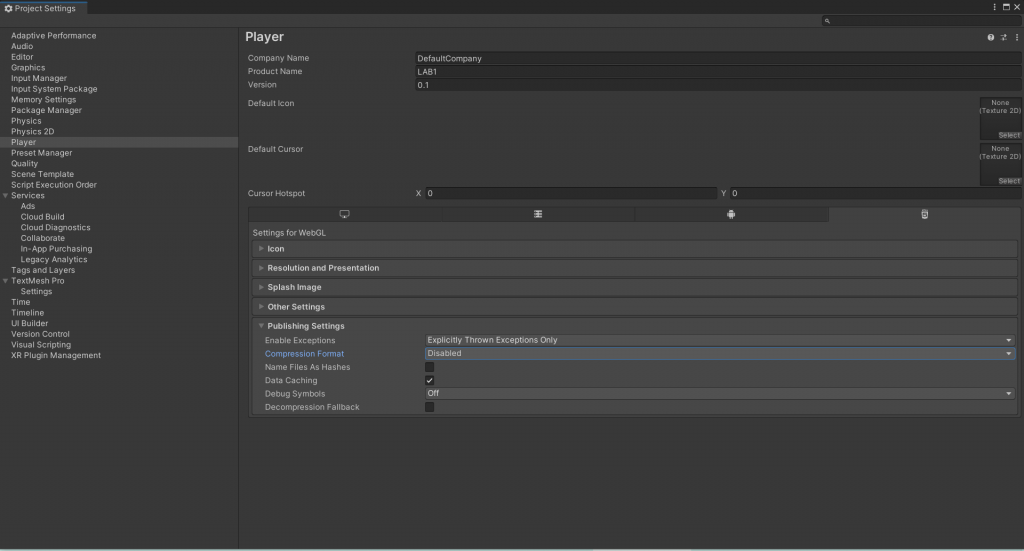
In browsers, compressed files are encoded to reduce data usage, we need to select the compression that the browser supports in Player Settings > Publishing Settings > Compression Format. If we don’t want compression, it can be set to Disabled.
Then build and select the location to store the files, we will get the files roughly as shown in Figure 3.

The game will be able to run on the web, allowing us to upload all the files to the server immediately. But don’t forget the location or URL that can be accessed from outside as well. By the way, we upload the file in apache to be able to access it.
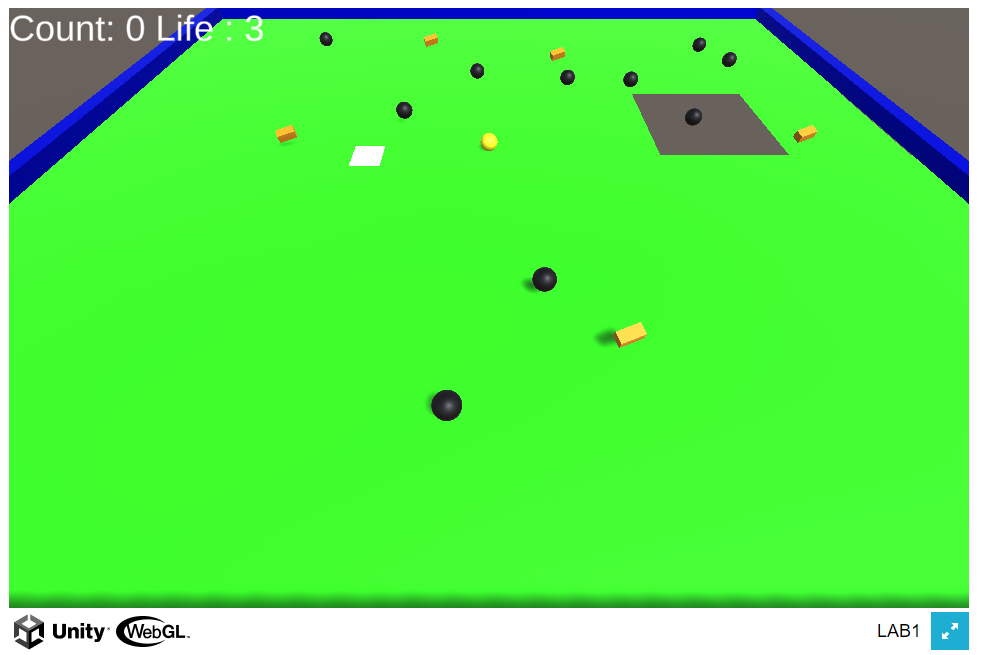
After uploading and specifying the URL location, we can play the game right away. Everyone can go and try it out at https://www.jarutex.com/www/html/lab/
Conclusion
Uploading games to the server is easy. Since the games obtained from Unity are HTML files, they can be used in the browser immediately. But the thing to be concerned about is compression. If the browser does not support the required compression, our game will not work.
(C) 2022, By Jarut Busarathid and Danai Jedsadathitikul
Updated 2022-03-30