This article is an example of a python programming language to command a relay module to turn on/off an LED via WiFi with the ESP8266’s AP mode.

This article is an example of a python programming language to command a relay module to turn on/off an LED via WiFi with the ESP8266’s AP mode.
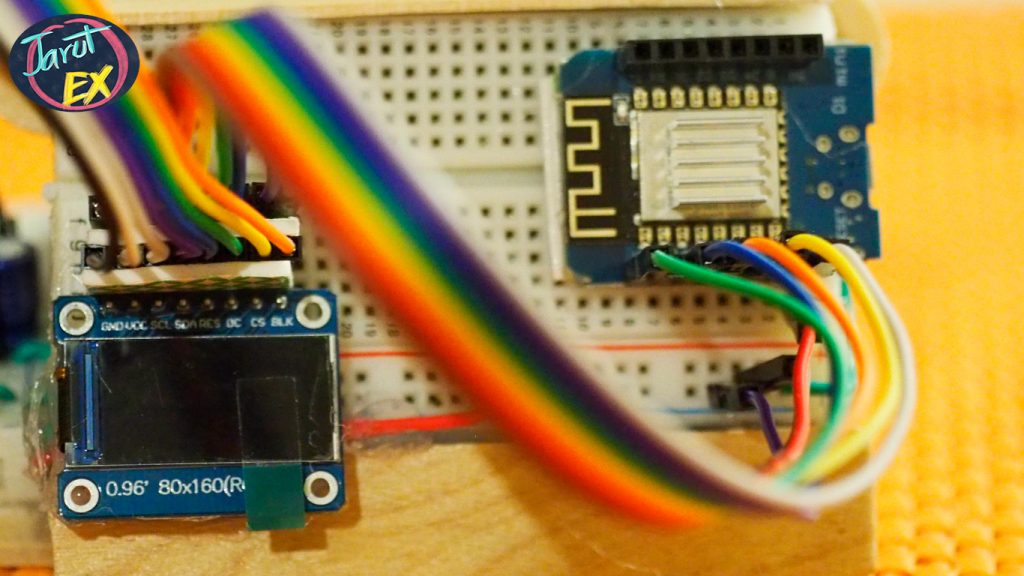
จากบทความ ST7735S 0.96″ 80×160 TFT LCD ได้กล่าวถึงคุณลักษณะและหน้าที่ของขาเชื่อมต่อพร้อมตัวอย่างการเชื่อมต่อกับ TTGO T8 ESP32 ไปเรียบร้อยแล้ว ในบทความนี้เป็นตัวอย่างการนำโมดูลแสดงผลมาใช้งานกับ ESP8266 ซึ่งมีขีดจำกัดในเรื่องของปริมาณหน่วยความจำที่น้อยกว่า ESP32 จึงต้องแก้ปัญหาด้วยการคอมไพล์ไลบรารีให้เป็นไบต์โค้ดนามสกุล mpy
บทความนี้เป็นตัวอย่างการใช้โมดูลอ่าน/เขียนการ์ดประเภท SD-Card เพื่อเก็บข้อมูลและอ่านข้อมูลในรูปแบบ JSON ซึ่งเป็นแนวทางสำหรับผู้อ่านบทความสามารถนำไปประยุกต์ใช้งานต่อไปในอนาคต

บทความนี้เป็นตัวอย่างการเขียนโปรแกรมภาษาไพธอนเพื่อขับโมดูรีเลย์เพื่อเปิด/ปิดหลอดแอลอีดีให้สว่างหรือดับผ่านการสั่งงาน WiFi ในโหมด AP ของ ESP8266
This article is a compiled article about time library usage related to the time delay of the ESP8266 along with an example of connecting to an NTP Server for synchronization.
This article uses the ESP8266 to read the values from the soil moisture sensor. The appearance of the selected sensor is shown in Figure 1. The circuit of the sensor is shown in Figure 2 which there’s a part for the conversion of resistance from current flow to analog and digital values. In which the digital sector has to be rotated to adjust the resistance from the variable resistor. After that, the voltage obtained by adjusting the resistance is used as a comparator of the voltage obtained by the sensor circuit and output the data as a digital signal as a value of 0 or 1, but in this article choose to read the value from analog signal via A0, which is 10 bits analog to digital converter (ADC) consequently the value read from analog signal will be integer start from 0 to 1024. The example program is written in Python along with showing the converted values from the ADC displayed on the web page.
Read Moreบทความนี้เป็นบทความที่เรียบเรียงข้อมูลเกี่ยวกับการใช้งานไลบรารี time ซึ่งเกี่ยวข้องกับการหน่วงเวลาของ ESP8266 พร้อมตัวอย่างการเชื่อมต่อกับ NTP Server เพื่อทำการซิงค์ เวลาให้ตรงกัน
บทความนี้เป็นการนำ ESP8266 มาใช้อ่านค่าจากเซ็นเซอร์ความชื้นของดิน ซึ่งหน้าตาของเซ็นเซอร์ที่เลือกใช้เป็นดังภาพที่ 1 โดยวงจรของการทำงานตามภาพที่ 2 จะมีส่วนของการแปลงความต้านทานจากการไหลของกระแสไฟเป็นค่าแบบแอนาล็อกและดิจิทัล ซึ่งในภาคของดิจิทัลนั้นต้องทำการหมุนเพื่อปรับค่าความต้านทานจากตัวต้านทานปรับค่าได้ หลังจากนั้นค่าแรงดันที่ได้จากการปรับค่าความต้านทานจะถูกใช้เป็นตัวเปรียบเทียบแรงดันที่ได้รับจากวงจรเซ็นเซอร์ และนำออกข้อมูลเป็นสัญญาณดิจิทัลเป็นค่า 0 หรือ 1 แต่ในบทความนี้เลือกใช้การอ่านค่าจากสัญญาณแอนาล็อกผ่านเข้าทางขา A0 ซึ่งเป็นภาคแปลงสัญญาณแอนาล็อกเป็นดิจิทัล (ADC: Analog to Digital Converter) ขนาด 10 บิต ทำให้อ่านค่าแรงดันที่ได้รับเป็นค่าจำนวนเต็มในช่วง 0 ถึง 1024 โดยตัวอย่างโปรแกรมเขียนด้วยภาษาไพธอน พร้อมแสดงค่าที่แปลงจาก ADC แสดงผ่านเว็บ
Read MoreThe ESP8266 is a device with a built-in WiFi connection system that can operate in both AP (Access Point) mode and client mode connected to an existing WiFi network or STA. The developer can set the name of the device (ESSID) or use the name according to the value set by the system to MicroPython-xxxx, where x represents the MAC Address of the device, the password is micropythoN (the developer can define a new one) with the IP address (IP Address) of 192.168.4.1.
ESP8266 is a device that nicely supports IoT functionality. But one of the downsides of the ESP8266 is the inadequate number of GPIOs or pins for input and output signals that can be used without a problem with the board’s functionality, so expanding ports for the ESP8266 is quite a thing that developers must be faced which can be performed in a several ways such as using PCF8574 as an expansion port via the I2C bus or connecting to Arduino via Serial Port to allow Arduino to work and send the results back via the serial communication port, etc. This article chose to use an Arduino Uno as a board for I / O to the ESP8266 by using the I2C bus operation.
Read More